- Virtual Portal:
- Virtual Portal is nothing but copy of websphere Portal.All the things we can do here,what we are doing in websphere portals except deploying portlet into server.Because webmodules tab is not available in virtual portal.
If we create some pages in this virtual portal,that pages will be visible to that user only.
A single portal installation can support up to 150 virtual portals.
-
Step1 :
Steps for creating a Virtual Portal .
- Below are the simple steps for creating a virtual portal:
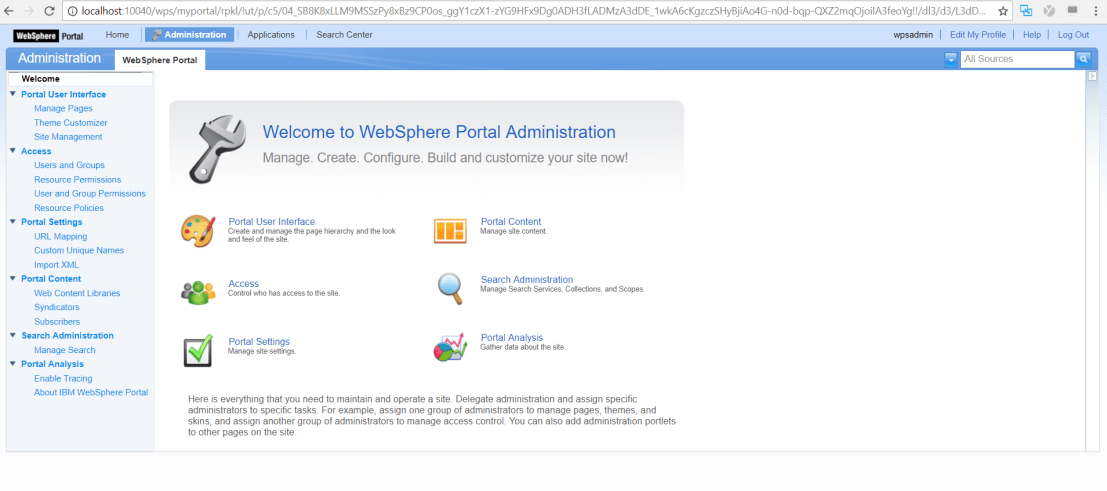
1.Logon to Websphere portal server v6.1http://localhost:10039/wps/portal/
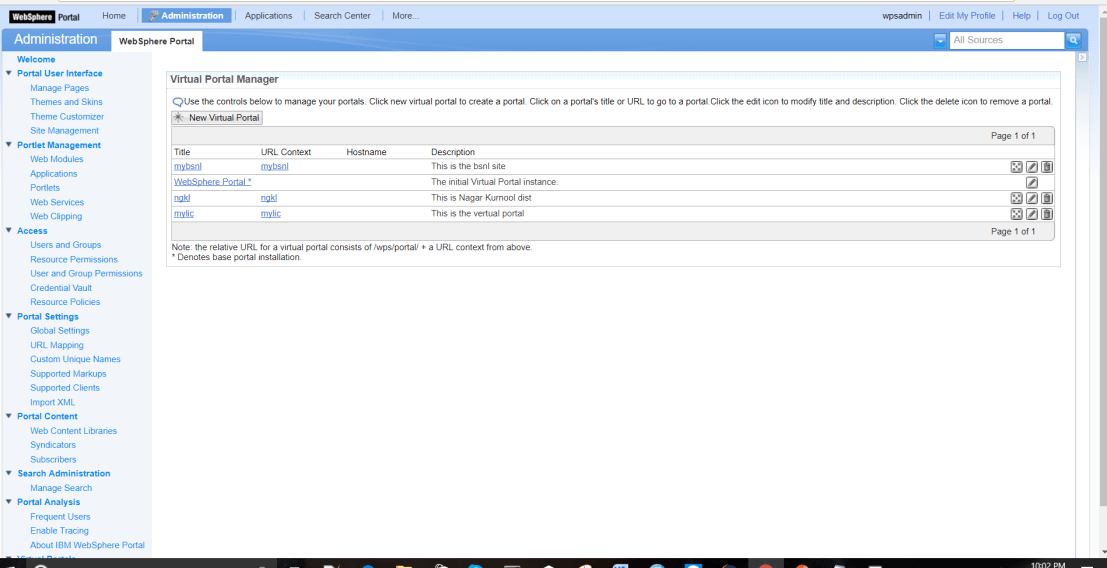
2.Navigate to Virtual Portals -> Mange Virtual Portals at the bottom of console.
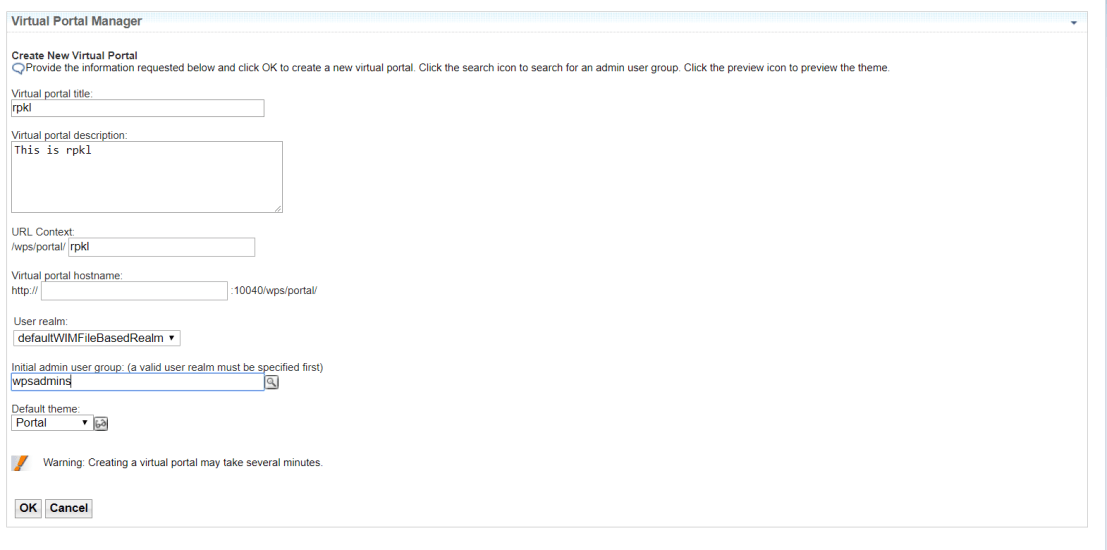
3. Click New Virtual portal and fill out the following information and click OK.

Step 2: To Fill the below
Title :rpkl
Description : This is rpkl
URL Context : rpkl
Host name : The host name of the virtual portal. This attribute is optional.
User realm : Leave it default .
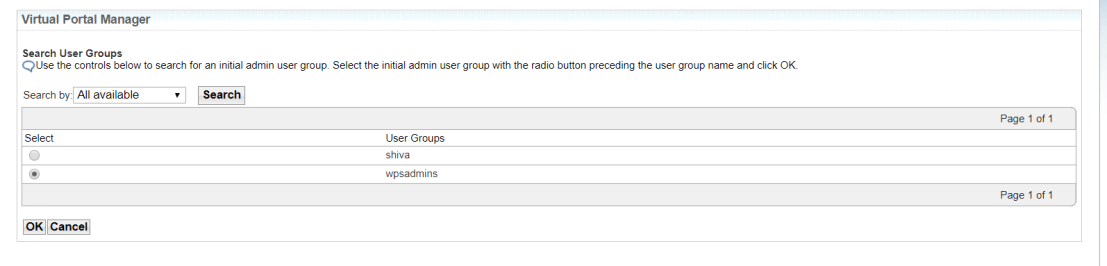
Initial admin user group : Click search button besides it and click search on the next screen
and select one you need or select the default one. (wpsadmins)
Default theme : Select the default or leave it to IBM.
Initial admin user group : Click search button besides it and click search on the next screen
and select one you need or select the default one. (wpsadmins) like below
Click on >ok.
Step 3:
Observe below Screen

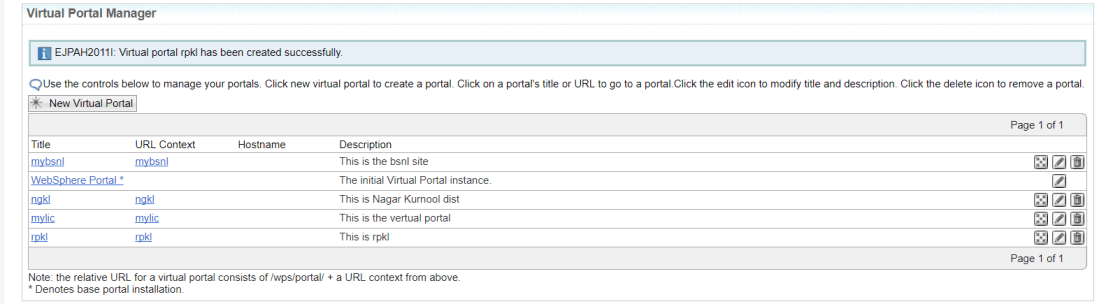
Step 4:
Created Virtual portal shown below
Step 5: Search browser like below url
http://localhost:10040/wps/myportal/rpkl